There’s something uniquely magical about the swirl of creamy, dreamy ice cream that dances on your tongue, especially when it’s crafted right in your own kitchen. Ditch the store-bought tubs and embrace the joy of creating personalized frozen masterpieces with a Homemade Ice Cream Maker. This incredible appliance opens up a world of flavor possibilities, transforming simple ingredients into delightful desserts that are not only fresher but also perfectly tailored to your taste. Whether you’re a seasoned dessert enthusiast or a curious beginner, embarking on the journey of homemade ice cream making is an adventure worth taking, promising endless delicious rewards.
The Sweet History of Frozen Delights
The desire for frozen treats is far from new. For centuries, people have found ingenious ways to cool down with icy concoctions. Early methods involved packing ice and salt around containers of sweetened cream, a technique that dates back to ancient China and later spread to Europe. Imagine the effort involved in hand-cranking ice cream for hours, a true labor of love! Fast forward to the 19th and 20th centuries, and the invention of the hand-crank ice cream maker revolutionized home production, making it more accessible. Today, modern homemade ice cream maker appliances continue this legacy, simplifying the process further while retaining the charm of artisanal creation. From those rudimentary beginnings to today’s sophisticated machines, the goal has always been the same: to bring joy through delicious, homemade frozen treats.
Why Every Kitchen Needs a Homemade Ice Cream Maker
Owning a homemade ice cream maker isn’t just about another gadget; it’s about unlocking a new dimension of culinary creativity and healthy eating. Here are compelling reasons why this appliance should be a staple in your home:
Healthier Options & Ingredient Control
When you make ice cream at home, you’re the master of your ingredients. This means saying goodbye to artificial additives, preservatives, and excessive sugars often found in commercial brands. You can choose high-quality, organic components, experiment with alternative sweeteners, or opt for dairy-free bases, aligning your treats with your dietary preferences and health goals. “Homemade ice cream allows you to drastically reduce unnecessary fats and sugars, offering a much healthier indulgence without sacrificing flavor,” notes Chef Elena Petrova, a celebrated dessert innovator.
Unleash Your Inner Flavor Alchemist
The possibilities are truly endless! Beyond classic vanilla and chocolate, a homemade ice cream maker empowers you to experiment with unique and personalized flavors you’d never find in stores. From lavender honey to spicy chili chocolate, seasonal fruit sorbets, or decadent cookie dough creations, your imagination is the only limit. This level of customization ensures every scoop is exactly how you like it.
Freshness You Can Taste
Store-bought ice cream can sit in freezers for months. Homemade ice cream, however, can be enjoyed at its peak freshness, often just minutes after churning. This unparalleled freshness translates into a superior texture and a more vibrant, authentic flavor that truly stands out. The difference is palpable, offering a velvety smoothness and brighter taste that’s simply irresistible.
A Fun Family Affair & Cost-Effective
Making ice cream at home is a fantastic activity to involve the whole family. Kids love participating in the process, from mixing ingredients to watching the magic happen in the machine. It’s a delightful way to create lasting memories and teach about cooking in an engaging manner. In the long run, especially if you enjoy premium ice cream, making your own can also be surprisingly economical, saving you money on expensive specialty tubs.
Dietary Flexibility & Eco-Friendly Choice
For those with specific dietary needs, a homemade ice cream maker is a game-changer. Easily create dairy-free, sugar-free, or gluten-free options without compromising on taste. Furthermore, by making your own, you significantly reduce the need for single-use plastic packaging, contributing to a more sustainable and eco-friendly lifestyle.
Demystifying Your Homemade Ice Cream Maker: Types and How They Work
Understanding the different types of homemade ice cream maker machines can help you choose the perfect one for your kitchen and lifestyle. Each offers a unique churning experience:
Freezer Bowl Ice Cream Makers (Pre-Freeze Models)
These are arguably the most common and budget-friendly homemade ice cream maker options. They feature a double-walled bowl containing a special coolant gel that needs to be completely frozen before use, typically requiring 8 to 24 hours in the freezer. Once frozen, you simply attach the bowl to the machine’s base, add your chilled ice cream base, and let the paddle churn. The frozen walls of the bowl gradually chill the mixture as it’s churned, preventing large ice crystals from forming. They are compact and easy to store if you have freezer space, but planning ahead is essential. Cuisinart models like the ICE-21 or ICE-30BC are highly recommended for their efficiency and user-friendliness.
Compressor Ice Cream Makers (Self-Freezing Wonders)
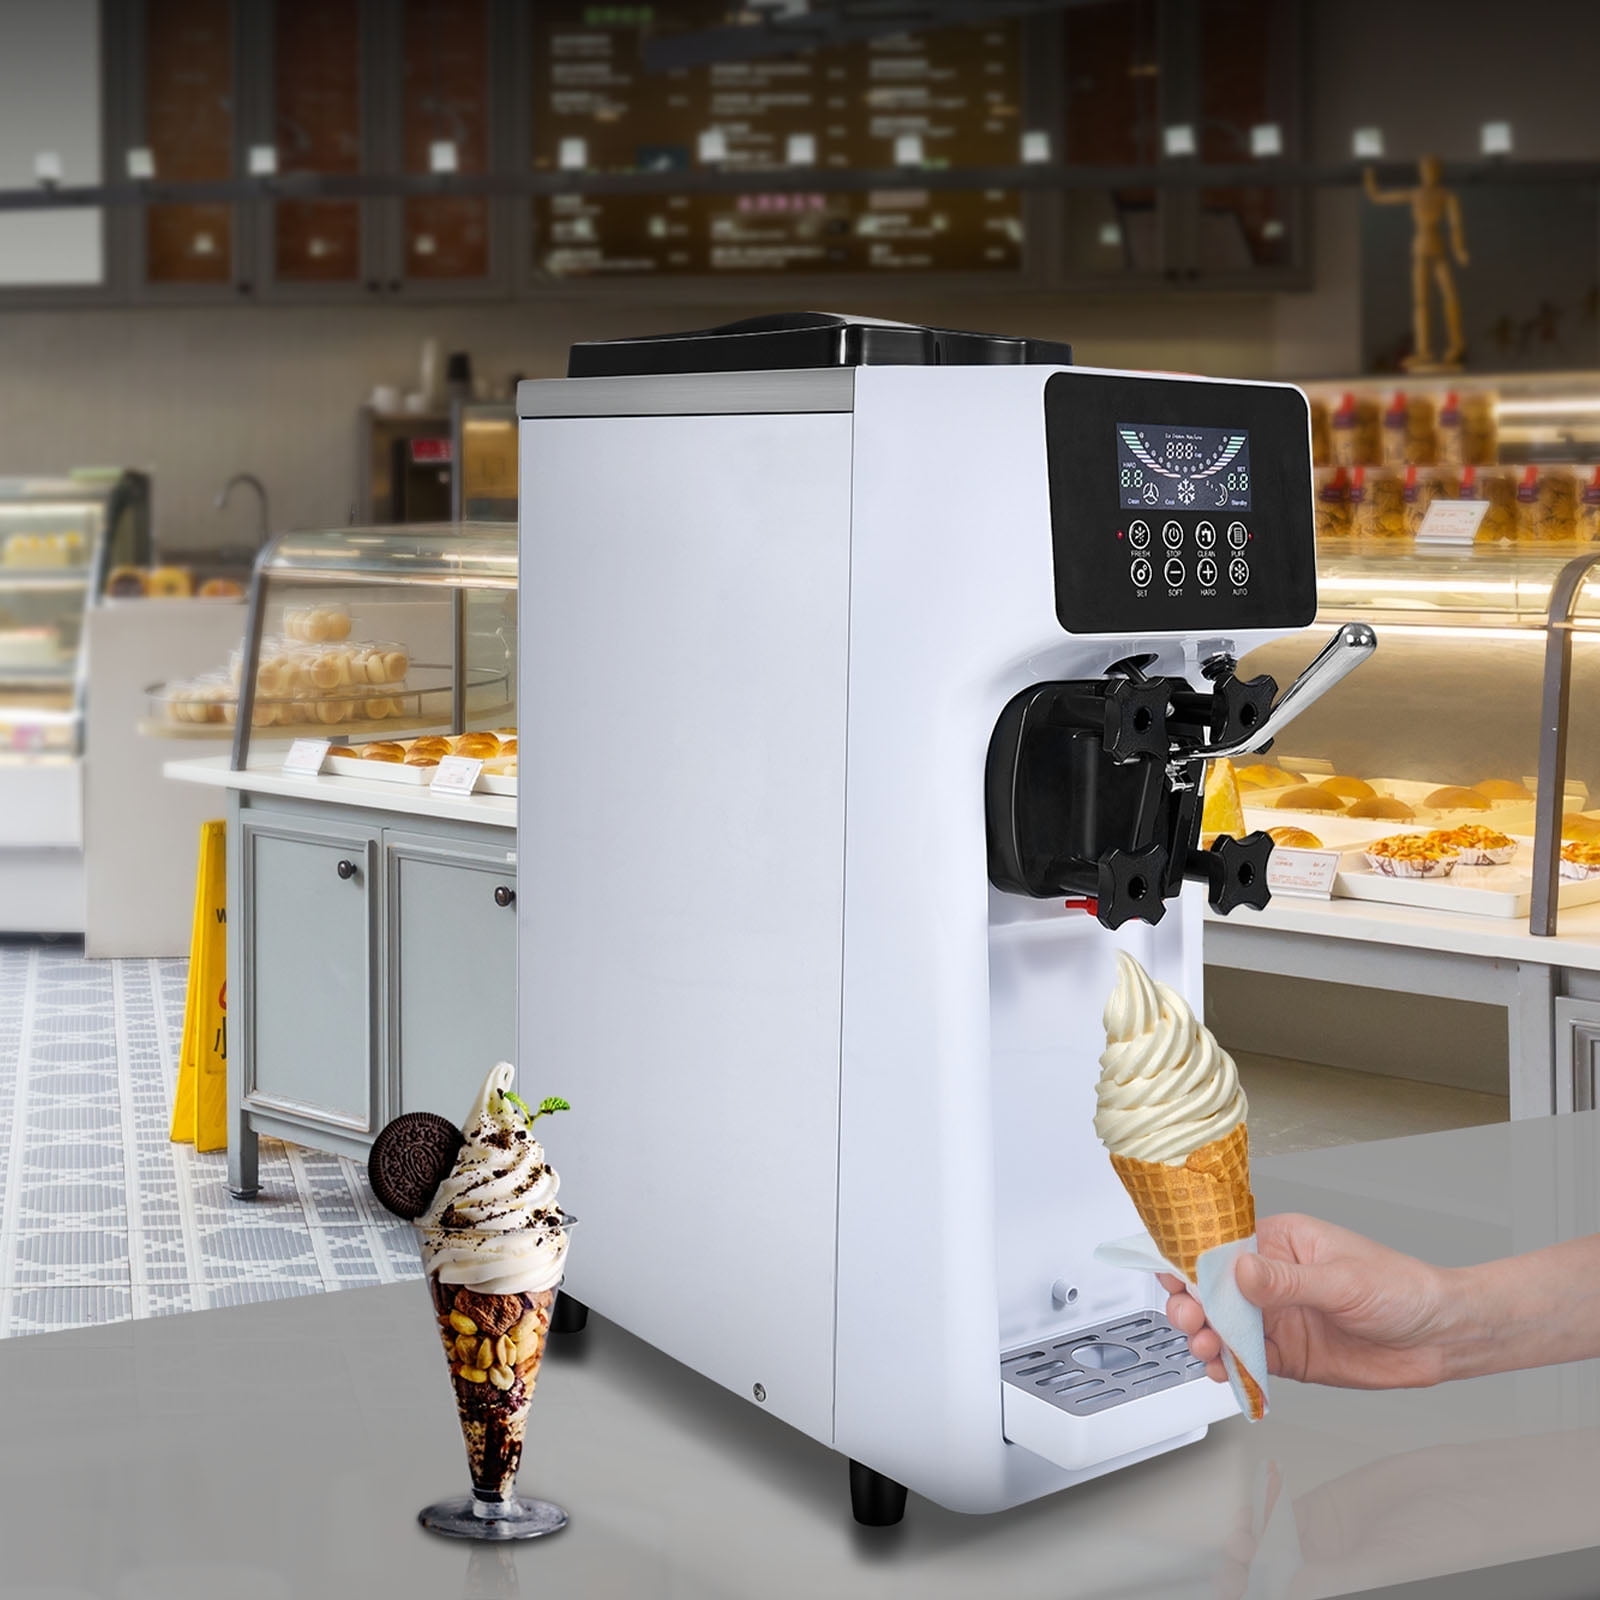
For those who crave spontaneity and frequent batches, a compressor homemade ice cream maker is a fantastic investment. These machines come with a built-in refrigeration unit, meaning no pre-freezing is required. You can make batch after batch without any waiting period, just like commercial ice cream parlors. While they are typically larger and more expensive than freezer bowl models, the convenience they offer is unmatched. Brands like Breville and Whynter are known for their high-quality compressor machines, capable of producing incredibly smooth and velvety ice cream.
Traditional Ice-and-Salt & Hand-Crank Models
Harking back to earlier days, these homemade ice cream maker machines consist of an inner metal canister nested within a larger bucket. The space between is filled with layers of ice and rock salt, which create a super-cold brine to freeze the ice cream base as a hand crank or electric motor churns the mixture. While some electric versions exist, hand-crank models offer a nostalgic, interactive experience, perfect for family gatherings or outdoor events. They are generally more affordable and can handle larger batches.
Getting Started: Your Step-by-Step Guide to Using Your Homemade Ice Cream Maker
Using a homemade ice cream maker is surprisingly straightforward, but a few key steps ensure delicious results every time.
Preparing Your Equipment: The Freezer Bowl is Key
If you’re using a freezer bowl model, this is the most crucial step: freeze your freezer bowl completely solid. This means at least 8 hours, but ideally 12-24 hours, in the coldest part of your freezer. Give it a shake; if you hear any sloshing liquid, it’s not ready. Ensure the bowl is thoroughly dry before freezing to prevent ice crystal formation on the surface. If you have a compressor model, you can skip this step, as the machine does the chilling for you!
Crafting Your Ice Cream Base: Chill Out!
Whether you’re making a simple Philadelphia-style (no-egg) base or a rich, custard-based French-style recipe, always chill your ice cream base thoroughly before churning. A warm or even room-temperature base will prevent the ice cream from thickening properly and can lead to an icy texture. Many recipes suggest chilling the base in the refrigerator for at least 2 hours, or even overnight, for optimal results.
The Art of Churning: When to Add Mix-ins
Once your bowl is frozen and your base is chilled, you’re ready to churn! Remove the freezer bowl just before churning to prevent it from defrosting. Attach the paddle and lid, then turn on the machine before pouring in your ice cream base through the spout. This prevents the base from instantly freezing to the sides of the cold bowl. Churn for 15-30 minutes, or until the mixture reaches a soft-serve consistency.
If you plan to add mix-ins like chocolate chips, nuts, fruit pieces, or cookie crumbles, do so during the last few minutes of churning. This ensures they are evenly distributed without being over-processed or causing the ice cream to over-thicken prematurely. Avoid adding large chunks that could damage the paddle.
From Soft Serve to Scoopable Perfection: Serving & Storing
Immediately after churning, your homemade ice cream will have a delightful soft-serve texture, which is absolutely delicious. If you prefer a firmer, scoopable consistency, transfer the churned ice cream to an airtight freezer-safe container and “cure” it in the freezer for at least 2-4 hours. To prevent ice crystals from forming during storage, press a piece of plastic wrap directly onto the surface of the ice cream before sealing the container. Avoid storing ice cream in the maker’s freezer bowl itself, as it can stick. For the best texture, let very firm ice cream soften in the refrigerator for about 30 minutes before scooping.
Common Questions About Your Homemade Ice Cream Maker
How long does it take to make ice cream in a homemade ice cream maker?
The churning process typically takes between 15 and 45 minutes, depending on the type of machine and the recipe. Freezer bowl models usually churn faster (15-20 minutes), while compressor models might take a bit longer (30-45 minutes) to reach desired consistency. This timeframe doesn’t include the pre-freezing of the bowl or chilling of the base.
Can I make sorbet or gelato in my homemade ice cream maker?
Absolutely! Most homemade ice cream maker machines are versatile and can produce a wide range of frozen desserts, including sorbets, gelatos, and frozen yogurts. Just follow specific recipes designed for these treats. The machine’s churning action is ideal for creating their characteristic smooth textures.
What are Philadelphia-style and custard-based ice creams?
Philadelphia-style, or American-style, ice cream is simpler, typically made with just cream, milk, sugar, and flavorings, without eggs. It doesn’t require cooking the base. Custard-based, or French-style, ice cream involves an egg yolk-enriched base that is cooked, then chilled before churning, resulting in a richer, denser texture. Both are delicious, offering different experiences for your homemade ice cream maker.
How do I prevent icy homemade ice cream?
Several factors contribute to icy ice cream. Ensure your freezer bowl is completely frozen and your base is thoroughly chilled before churning. A good balance of sugar and fat in your recipe helps, as sugar lowers the freezing point and fat contributes to creaminess. Churning until the desired consistency is reached (not under-churning) and then freezing in an airtight container with plastic wrap pressed on the surface also helps.
How do I clean and maintain my ice cream maker?
Most homemade ice cream maker components (paddle, lid, bowl) are easy to clean with warm, soapy water. Always check your machine’s manual for specific cleaning instructions. For freezer bowls, ensure they are completely dry before returning them to the freezer to prevent odors or frost buildup. Compressor models may require occasional wiping down of the exterior. Proper care ensures your machine lasts for many years of delicious creations.
Beyond Vanilla: Creative Homemade Ice Cream Maker Recipes
Your homemade ice cream maker is a canvas for culinary artistry. Here are some ideas to spark your creativity:
Classic Staples
- Ultimate Vanilla Bean: A timeless classic, perfect on its own or as a base for sundaes. Use real vanilla beans or high-quality extract for an authentic flavor.
- Rich Dark Chocolate: For chocolate lovers, a deep, intense chocolate ice cream is a must. Incorporate good quality cocoa powder or melted dark chocolate.
Fruity Fantasies
- Vibrant Mango Sorbet: A refreshing and dairy-free option, perfect for hot days. Blend ripe mangoes with a touch of sugar and lemon juice, then churn.
- Strawberry Swirl: Blend fresh strawberries into your cream base, or swirl in a homemade strawberry compote during the last few minutes of churning for beautiful ribbons of fruit.
Decadent Delights
- Salted Caramel Dream: Swirl in homemade salted caramel sauce as your ice cream churns for an irresistible sweet and salty treat.
- Chocolate Chip Cookie Dough: Add chunks of your favorite edible cookie dough (ensure it’s egg-free or heat-treated flour) during the final stages of churning for a crowd-pleasing classic.
Conclusion
The journey with a homemade ice cream maker is one filled with delightful discoveries and endless possibilities. It’s more than just making a dessert; it’s about controlling your ingredients, experimenting with flavors, and creating wholesome, fresh treats that bring smiles to everyone’s faces. From the satisfying hum of the churn to the first creamy spoonful, every step is a testament to the simple joys of making something truly special from scratch. So, embrace the adventure, get creative in your kitchen, and let your homemade ice cream maker transform ordinary ingredients into extraordinary moments of happiness. Happy churning!