There’s an undeniable magic in a scoop of your favorite ice cream, but what if we told you that magic could be amplified a hundredfold? Imagine the aroma of freshly baked, warm, crispy cones wafting through your kitchen, ready to cradle your frozen delight. That’s the promise of an Ice Cream Cone Maker, a simple yet transformative appliance that elevates your homemade ice cream experience from delightful to truly extraordinary. At Kem Hạnh Phúc, we believe in celebrating every facet of ice cream enjoyment, and crafting your own cones is an art form worth mastering.
The Sweet History and Evolution of the Edible Cone
The journey of the ice cream cone is as fascinating as it is delicious, rooted in ingenuity and a touch of serendipity. Before the advent of edible cones, ice cream was often served in small glass dishes or metal containers, known as “penny licks,” which raised concerns about hygiene and breakage. People sought a more practical and enjoyable way to savor their frozen treats.
While various conical pastries existed in Europe as early as the 19th century, with mentions in French cookbooks and Mrs. A.B. Marshall’s “Cornets with Cream” recipe in 1888, the ice cream cone’s widespread popularity truly took off at the 1904 St. Louis World’s Fair. The legend tells of an ice cream vendor running out of serving dishes. Ernest Hamwi, a Syrian waffle concessionaire next door, quickly rolled his crispy, waffle-like pastries into a cone shape to help his neighbor, and a culinary icon was born. Around the same time, Italian immigrant Italo Marchiony was also innovating, receiving a patent in 1903 for a machine to mold edible cups from waffle batter, further solidifying the cone’s place in dessert history. This innovation solved practical problems and introduced a delightful new dimension to eating ice cream, making it a portable, mess-free pleasure.
|
Our Picks for the Best Ice Cream Maker in 2026
As an Amazon Associate I earn from qualifying purchases.
|
||
| Num | Product | Action |
|---|---|---|
| 1 | Dash My Pint Ice Cream Maker - Compact & Convenient Single-Serving Ice Cream Maker - Makes Gelato, Sorbet & Frozen Yogurt - 1.6 Cups, Aqua |

|
| 2 | Ninja CREAMi Scoop & Swirl Ice Cream and Soft Serve Maker, Sorbet, Milkshake, Frozen Yogurt, Low Calories Program & More, 13-in-1, Soft Serve Handle & (2) CREAMi 2-in-1 16oz Pints, NC701 |
|
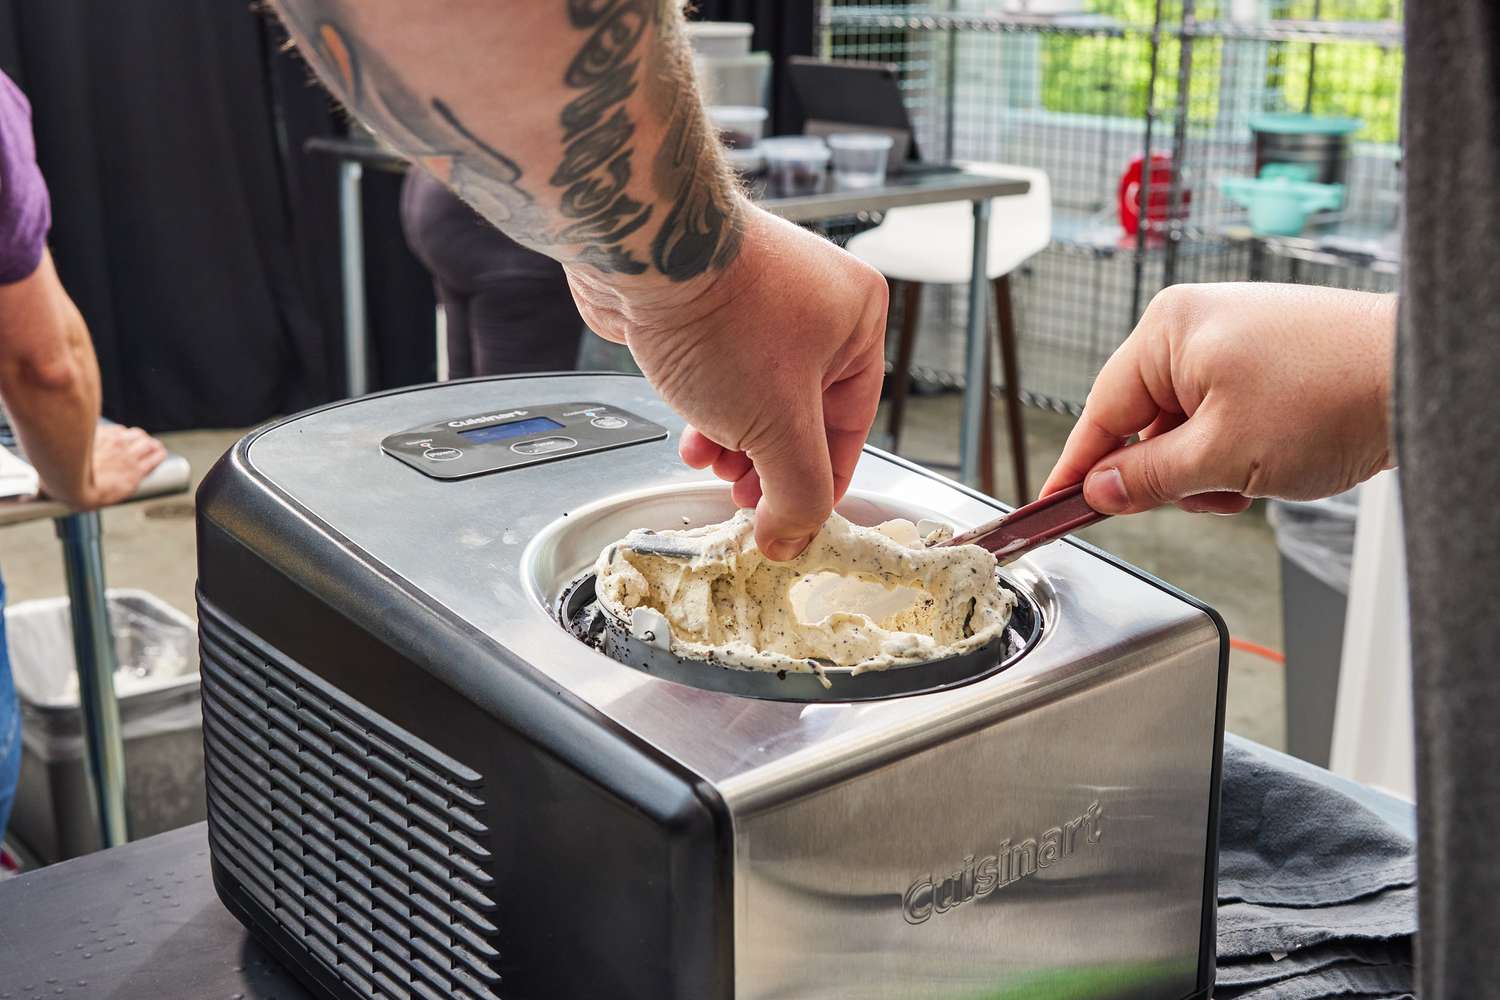
| 3 | Cuisinart Ice Cream Maker Machine, 2-Quart Stainless Steel Frozen Yogurt, Gelato, Sorbet, Ready in 20 Minutes, LCD Screen and Timer, ICE-70P1 |
|
| 4 | Nostalgia Electric Ice Cream Maker - Old Fashioned Soft Serve Ice Cream Machine Makes Frozen Yogurt or Gelato in Minutes - Fun Kitchen Appliance - Vintage Wooden Style - Light Wood - 4 Quart |
|
| 5 | Ninja NC301 CREAMi Ice Cream Maker, for Gelato, Mix-ins, Milkshakes, Sorbet, Smoothie Bowls & More, 7 One-Touch Programs, with (2) Pint Containers & Lids, Compact Size, Perfect for Kids, Silver |
|
| 6 | Ninja CREAMi Deluxe Ice Cream & Frozen Treat Maker for Ice Cream, Sorbet, Milkshakes, Frozen Yogurt, & More, 11-in-1, XL Capacity, Silver, Includes (2) Family-Sized 24 oz. Tubs, NC501 |
|
| 7 | Cuisinart Ice Cream Maker Machine, 2-Quart Ice Cream, Sorbet and Frozen Yogurt Machine, Fully Automatic Double-Insulated Freezer Bowl Makes Frozen Desserts in Under 30 Minutes, ICE30BCP1, Silver |
|
| 8 | Cuisinart Ice Cream Maker Machine, 1.5 Quart Double Insulated Machine, Sorbet and Frozen Yogurt Maker, Ready in 20 Minutes, ICE-21RP1, Red |
|
| 9 | Cuisinart Ice Cream Maker Machine, 1.5 Quart Double Insulated Machine, Sorbet and Frozen Yogurt Maker, Ready in 20 Minutes, ICE-21P1, White |
|
| 10 | At-Home Rolled Ice Cream Maker Kit, Portable Rolled Instant Ice Cream Maker Machine Tray, DIY Stainless Steel Homemade Iced Tray with 2 Scrapers, Freeze Dessert Board for Fun Freezer Desserts, Family |
|
Unveiling the Popular Types of Ice Cream Cone Makers
For home enthusiasts and small businesses, ice cream cone makers come in various forms, each designed to help you achieve that perfect crunch. Understanding the types available is the first step toward finding your ideal kitchen companion.
Electric Waffle Cone Makers
These are by far the most popular choice for home use. Electric waffle cone makers typically resemble small waffle irons, featuring non-stick cooking plates that quickly bake a thin batter into a round, pliable wafer. Once cooked, you swiftly remove the hot wafer and roll it around a cone-shaping tool (often included) before it cools and hardens into its classic cone form.
Key features to look for in electric models include:
- Non-stick plates: Absolutely essential for easy release and quick cleanup. Nobody wants a sticky mess after making delicious cones!
- Adjustable temperature control: This allows you to customize the browning and crispness of your cones, from a light golden hue to a deeper, richer crisp.
- Indicator lights: “Power on” and “ready” lights signal when the maker is heated to the optimal temperature, ensuring consistent results.
- Cone roller and/or waffle bowl shaper: Many models come with these accessories, empowering you to create not just cones, but also delightful edible bowls for sundaes.
- Durable construction: Look for models with stainless steel components for longevity and easy maintenance.
Manual/Stovetop Cone Irons
While less common for beginners, stovetop cone irons offer a traditional approach. These irons typically clamp together and are heated directly on a stove burner. They require a bit more manual control over heat, but they can be a charming option for those who enjoy a more hands-on cooking experience. They are often more compact and portable.
Your Effective Guide to Using an Ice Cream Cone Maker
Using an ice cream cone maker is surprisingly straightforward, turning a simple batter into a crispy masterpiece in minutes. Here’s a step-by-step guide to help you achieve perfection:
- Prepare Your Batter: A good waffle cone batter is crucial. It’s typically a simple blend of flour, sugar, eggs, milk, melted butter, and vanilla extract. For an extra crispy, long-lasting cone, consider adding a touch of tapioca starch, as recommended by many culinary experts. “The secret to an incredibly crispy, yet delicate cone lies in the precise balance of ingredients, especially the addition of tapioca starch for that perfect snap,” advises Chef Isabella Rossi, our lead dessert innovator at Kem Hạnh Phúc.
- Preheat Your Maker: Plug in your electric cone maker and let it preheat thoroughly. Most models will have an indicator light that tells you when it’s ready to use. This ensures even cooking from the start.
- Lightly Grease (If Needed): Even with non-stick plates, a very light brush of oil or cooking spray for the first batch can ensure a smooth release.
- Pour the Batter: Scoop 1-2 tablespoons of batter (the exact amount depends on your maker’s size and desired cone thickness) onto the center of the bottom cooking plate. Close the lid gently but firmly.
- Cook to Perfection: Cook for 1-3 minutes, or until the wafer turns a beautiful golden brown. The cooking time will vary by machine and your preferred level of crispness. Keep an eye on it – you’re looking for that perfect balance of color and texture.
- The Quick Roll: This is the most critical step! As soon as the wafer is cooked, immediately lift it off the maker using a spatula. It will be very hot and pliable. Place it over your cone-shaping tool and quickly roll it into a cone shape. You have only a few seconds before it hardens, so speed is key!
- Cool and Harden: Hold the rolled cone on the shaping tool for about 10-15 seconds until it sets and hardens. Then, carefully slide it off and place it on a wire rack to cool completely.
Storage Tips and Common Troubleshooting
Making homemade cones is rewarding, but a few tips can ensure they stay perfect and address any common hiccups.
Keeping Cones Crispy
The enemy of a crispy cone is moisture. Once completely cooled, store your homemade cones in an airtight container at room temperature. Avoid refrigerating them, as the moisture can make them soft. If they lose their crispness over time, a quick refresh in a warm oven (around 200°F/95°C for a few minutes) can bring back their snap.
Preventing Drips
There’s nothing worse than a leaky cone! A clever trick is to drop 2-3 chocolate chips into the bottom of the freshly rolled, still-warm cone. The residual heat will melt the chocolate, forming a delicious, leak-proof seal at the bottom. It’s a sweet surprise, too!
Common Troubleshooting
- Sticking: Ensure your plates are truly non-stick and lightly greased if recommended. If sticking persists, try adjusting the batter consistency or cleaning the plates more thoroughly.
- Not Crispy Enough: This usually means the cone needs to cook longer or at a slightly higher temperature. Experiment with your maker’s settings.
- Uneven Browning: Make sure your maker is fully preheated. Some older models might have hot spots, in which case rotating the batter slightly can help.
- Breaking when Rolling: You might be waiting too long! The wafer needs to be rolled while it’s still very hot and flexible. Heat-resistant gloves can be a lifesaver here.
The Irresistible Benefits of Making Your Own Cones
Why go through the effort of making your own ice cream cones when store-bought options are readily available? The answer lies in the unparalleled experience and myriad benefits:
- Unmatched Freshness and Taste: Nothing compares to the warm, aromatic, and crispy texture of a freshly baked cone. It adds an entirely new dimension of flavor and sensation to your ice cream.
- Customization is King: Craving a chocolate cone, a hint of cinnamon, or a gluten-free option? Making your own allows you to experiment with flavors, ingredients, and even cater to dietary needs. This is where your creativity truly shines!
- Cost-Effectiveness: Over time, making your own cones can be more economical than continuously buying packaged ones, especially if you’re a frequent ice cream enthusiast.
- A Fun Activity for All Ages: Involving family and friends in the cone-making process adds a delightful, interactive element to dessert time. It’s an engaging culinary adventure.
- Elevating the Ice Cream Experience: A homemade cone transforms a simple scoop of ice cream into a gourmet treat, making every bite feel special. It shows care and craftsmanship, enhancing the overall joy.
Creative Cone Recipes and Serving Ideas
Let your imagination run wild with your ice cream cone maker!
Classic Vanilla Waffle Cones
- Ingredients: 2 large eggs, ½ cup granulated sugar, ¼ cup melted unsalted butter, 3 tablespoons whole milk, 1 teaspoon vanilla extract, ¾ cup all-purpose flour, ⅛ teaspoon salt. (Optional: 1 tablespoon tapioca starch for extra crispiness).
- Instructions:
- In a bowl, whisk eggs and sugar until light and frothy.
- Whisk in melted butter, milk, and vanilla.
- Gradually add flour and salt (and tapioca starch if using), mixing until a smooth, thin batter forms. If too thick, add a touch more milk.
- Let the batter rest for 10 minutes.
- Preheat your ice cream cone maker.
- Pour about 2 tablespoons of batter onto the hot plates, close, and cook until golden brown.
- Quickly roll the hot wafer into a cone shape using the provided tool.
- Cool on a wire rack until hardened.
Flavorful Variations
- Chocolate Cones: Whisk in 2 tablespoons of unsweetened cocoa powder with your dry ingredients.
- Cinnamon Sugar Cones: Add ½ teaspoon of ground cinnamon to the dry ingredients for a warm spice note.
- Matcha Cones: Incorporate 1 teaspoon of matcha powder for an earthy, vibrant green cone.
Creative Serving Ideas
- Waffle Bowls: Instead of rolling, gently press the hot wafer into a small bowl or muffin tin to create edible dessert bowls. Perfect for sundaes with all the toppings!
- Chocolate-Dipped Delights: Once cooled, dip the rims of your cones in melted chocolate and sprinkle with nuts, sprinkles, or shredded coconut for an extra indulgent touch.
- Inside-Out Cones: For a unique twist, line the inside of your still-warm cone with a thin layer of melted chocolate before it hardens.
- Savory Cones: Experiment with savory batters for unique appetizers, filling them with chicken salad, guacamole, or even a light cheese spread.
Frequently Asked Questions About Ice Cream Cone Makers
What is the difference between a waffle cone and a sugar cone?
Waffle cones are typically larger, crispier, and have a distinctive grid pattern. Sugar cones are generally smaller, thicker, and have a slightly sweeter, firmer texture with a smooth or textured surface. Both can be made at home with the right maker or method.
Can I make ice cream bowls with my cone maker?
Yes, many ice cream cone makers come with a waffle bowl shaper, or you can gently press the hot, cooked wafer into a muffin tin or small bowl to form an edible bowl before it hardens.
How do I keep my homemade cones from getting soggy?
The key is proper storage. Once completely cool, store cones in an airtight container at room temperature. Humidity is their enemy, so keep them away from moisture. If they soften, a brief reheat in a warm oven can restore their crispness.
Are ice cream cone makers easy to clean?
Most modern electric cone makers feature non-stick surfaces, making cleanup relatively easy. Simply wipe the cooled plates with a damp cloth or paper towel. Avoid abrasive scrubbers to protect the non-stick coating.
Can I use a panini press to make ice cream cones?
Surprisingly, yes! While not specifically designed for it, a panini press can flatten and cook a thin batter similar to a cone maker. You’ll still need to quickly roll the hot wafer into a cone shape manually. It might not produce the traditional waffle pattern, but it’s a creative alternative!
Embrace the Joy of Homemade Cones
An ice cream cone maker isn’t just another kitchen gadget; it’s a gateway to creating unforgettable dessert experiences. It’s about bringing the joy of the ice cream parlor home, with the added satisfaction of crafting something delicious with your own hands. From the historical charm of the cone’s origins to the endless possibilities of custom flavors and serving styles, the journey of making your own ice cream cones is truly a happy one. So, plug in your maker, whisk up a batter, and prepare to embark on a delightful adventure that promises crispy, sweet perfection with every scoop. Don’t just serve ice cream; celebrate it!